How to Install on Deep Channels: Using Inlay Strips with the Cut and Drop Method
Applying vinyl into channels via the method described below is recommended and covered by the Arlon Fleet Warranty. You will also find that this is essentially the same method as specified in TIP 48 only with the addition of using inlay strips so that the vehicle’s paint will not show. However, consistency is key. It is highly recommended to practice this method several times to gain consistency and confidence prior to doing a real installation.
PRE-INSTALLATION
- This technique will require the use of seams and overlaps so make sure that the customer approves and signs-off on the end result.
- Collaborate with the wrap graphic designer to move critical information away from areas to be cut. This technique works best with solid color designs where no other design elements run across the channel.
INSTALLATION
- Lay the strip of vinyl on the walls of the channel.

- Proceed with installing the graphic on the window with at least 4 inches of bridged film on the recessed or inset areas.

- With a WrapGlove™, apply the graphic about 1/8" (3 mm) beyond the body line. Use very low heat when necessary.
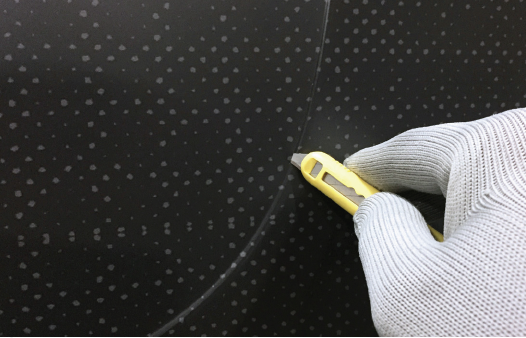
- Before trimming, make sure that the film’s surface is relatively cool (less than 85°F / 30°C) and cut the film with the blade parallel to the body line as a guide.
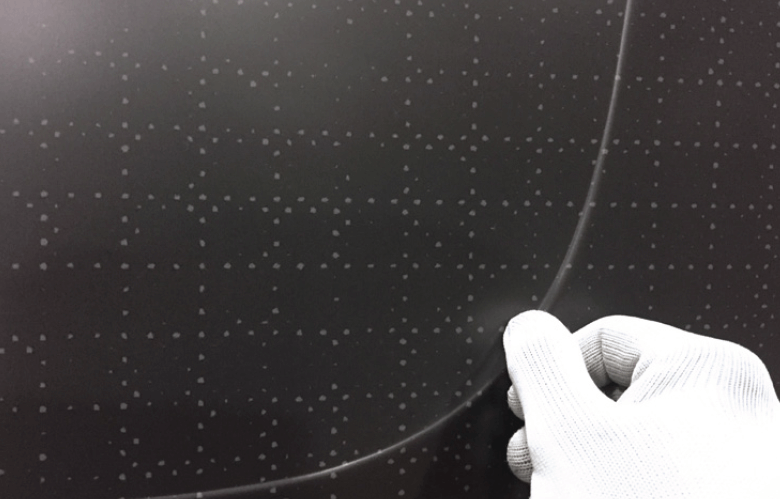
- Squeegee the area that was previously bridging over the recessed or inset area.
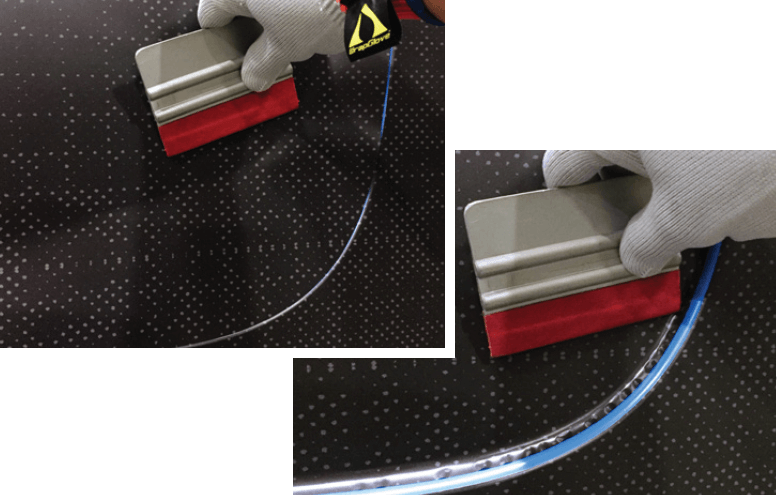
- Properly post heat the overlaps and reapply pressure.
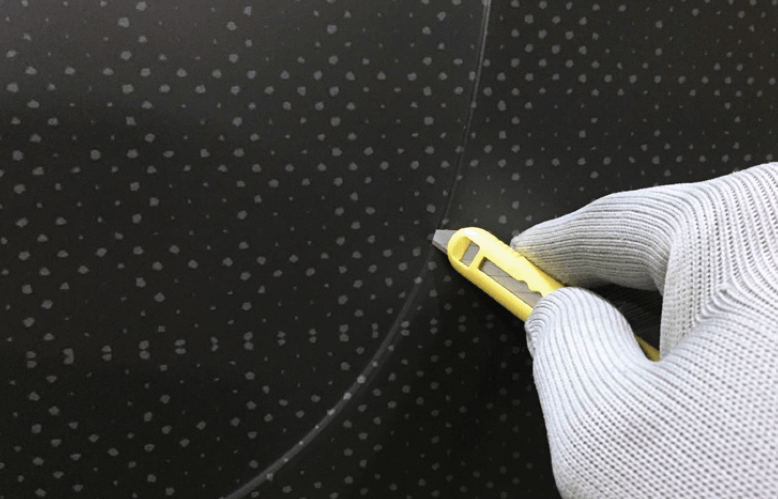
- Properly post heat the overlaps and reapply pressure.
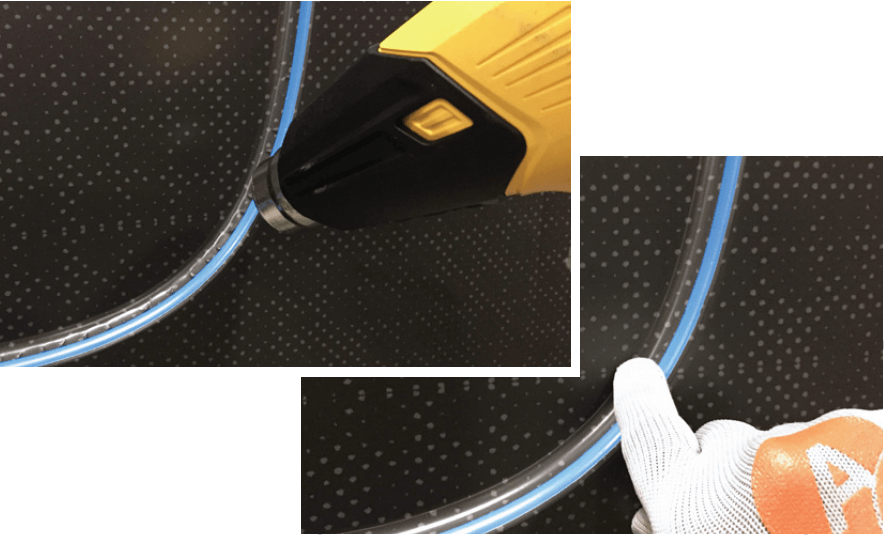
For Calendered Film or Channels with a Tighter Radius
Bottle-capping or fingers tend to form in the corners with thicker films or channels with a tighter radius so extra trimming may be necessary. Before proceeding with Step 2 above, apply any vinyl cutting tape or if cutting by hand, use FineLine Tape to avoid cutting into the inlay strip or the paint.

After Step 5, proceed to cutting the excess film either by hand,
... or with the vinyl cutting tape.
Post heat the edges and reapply pressure.

TIP_49_-_Deep_Channels-Using_Inlay_Strips_with_the_Cut_and_Drop_Method
